> ## Documentation Index
> Fetch the complete documentation index at: https://helpdesk.quso.ai/llms.txt
> Use this file to discover all available pages before exploring further.
# Custom Clip Using Timestamps
>
You can create custom clips using either timestamps or the transcript of the video itself.
Using custom clips is a great option when you have a segment in mind that the AI did not clip or you want to render the entire video.
To create a custom clip using timestamps, click on the custom clip button on the screen with all your clips and then select "Create from Timestamp".
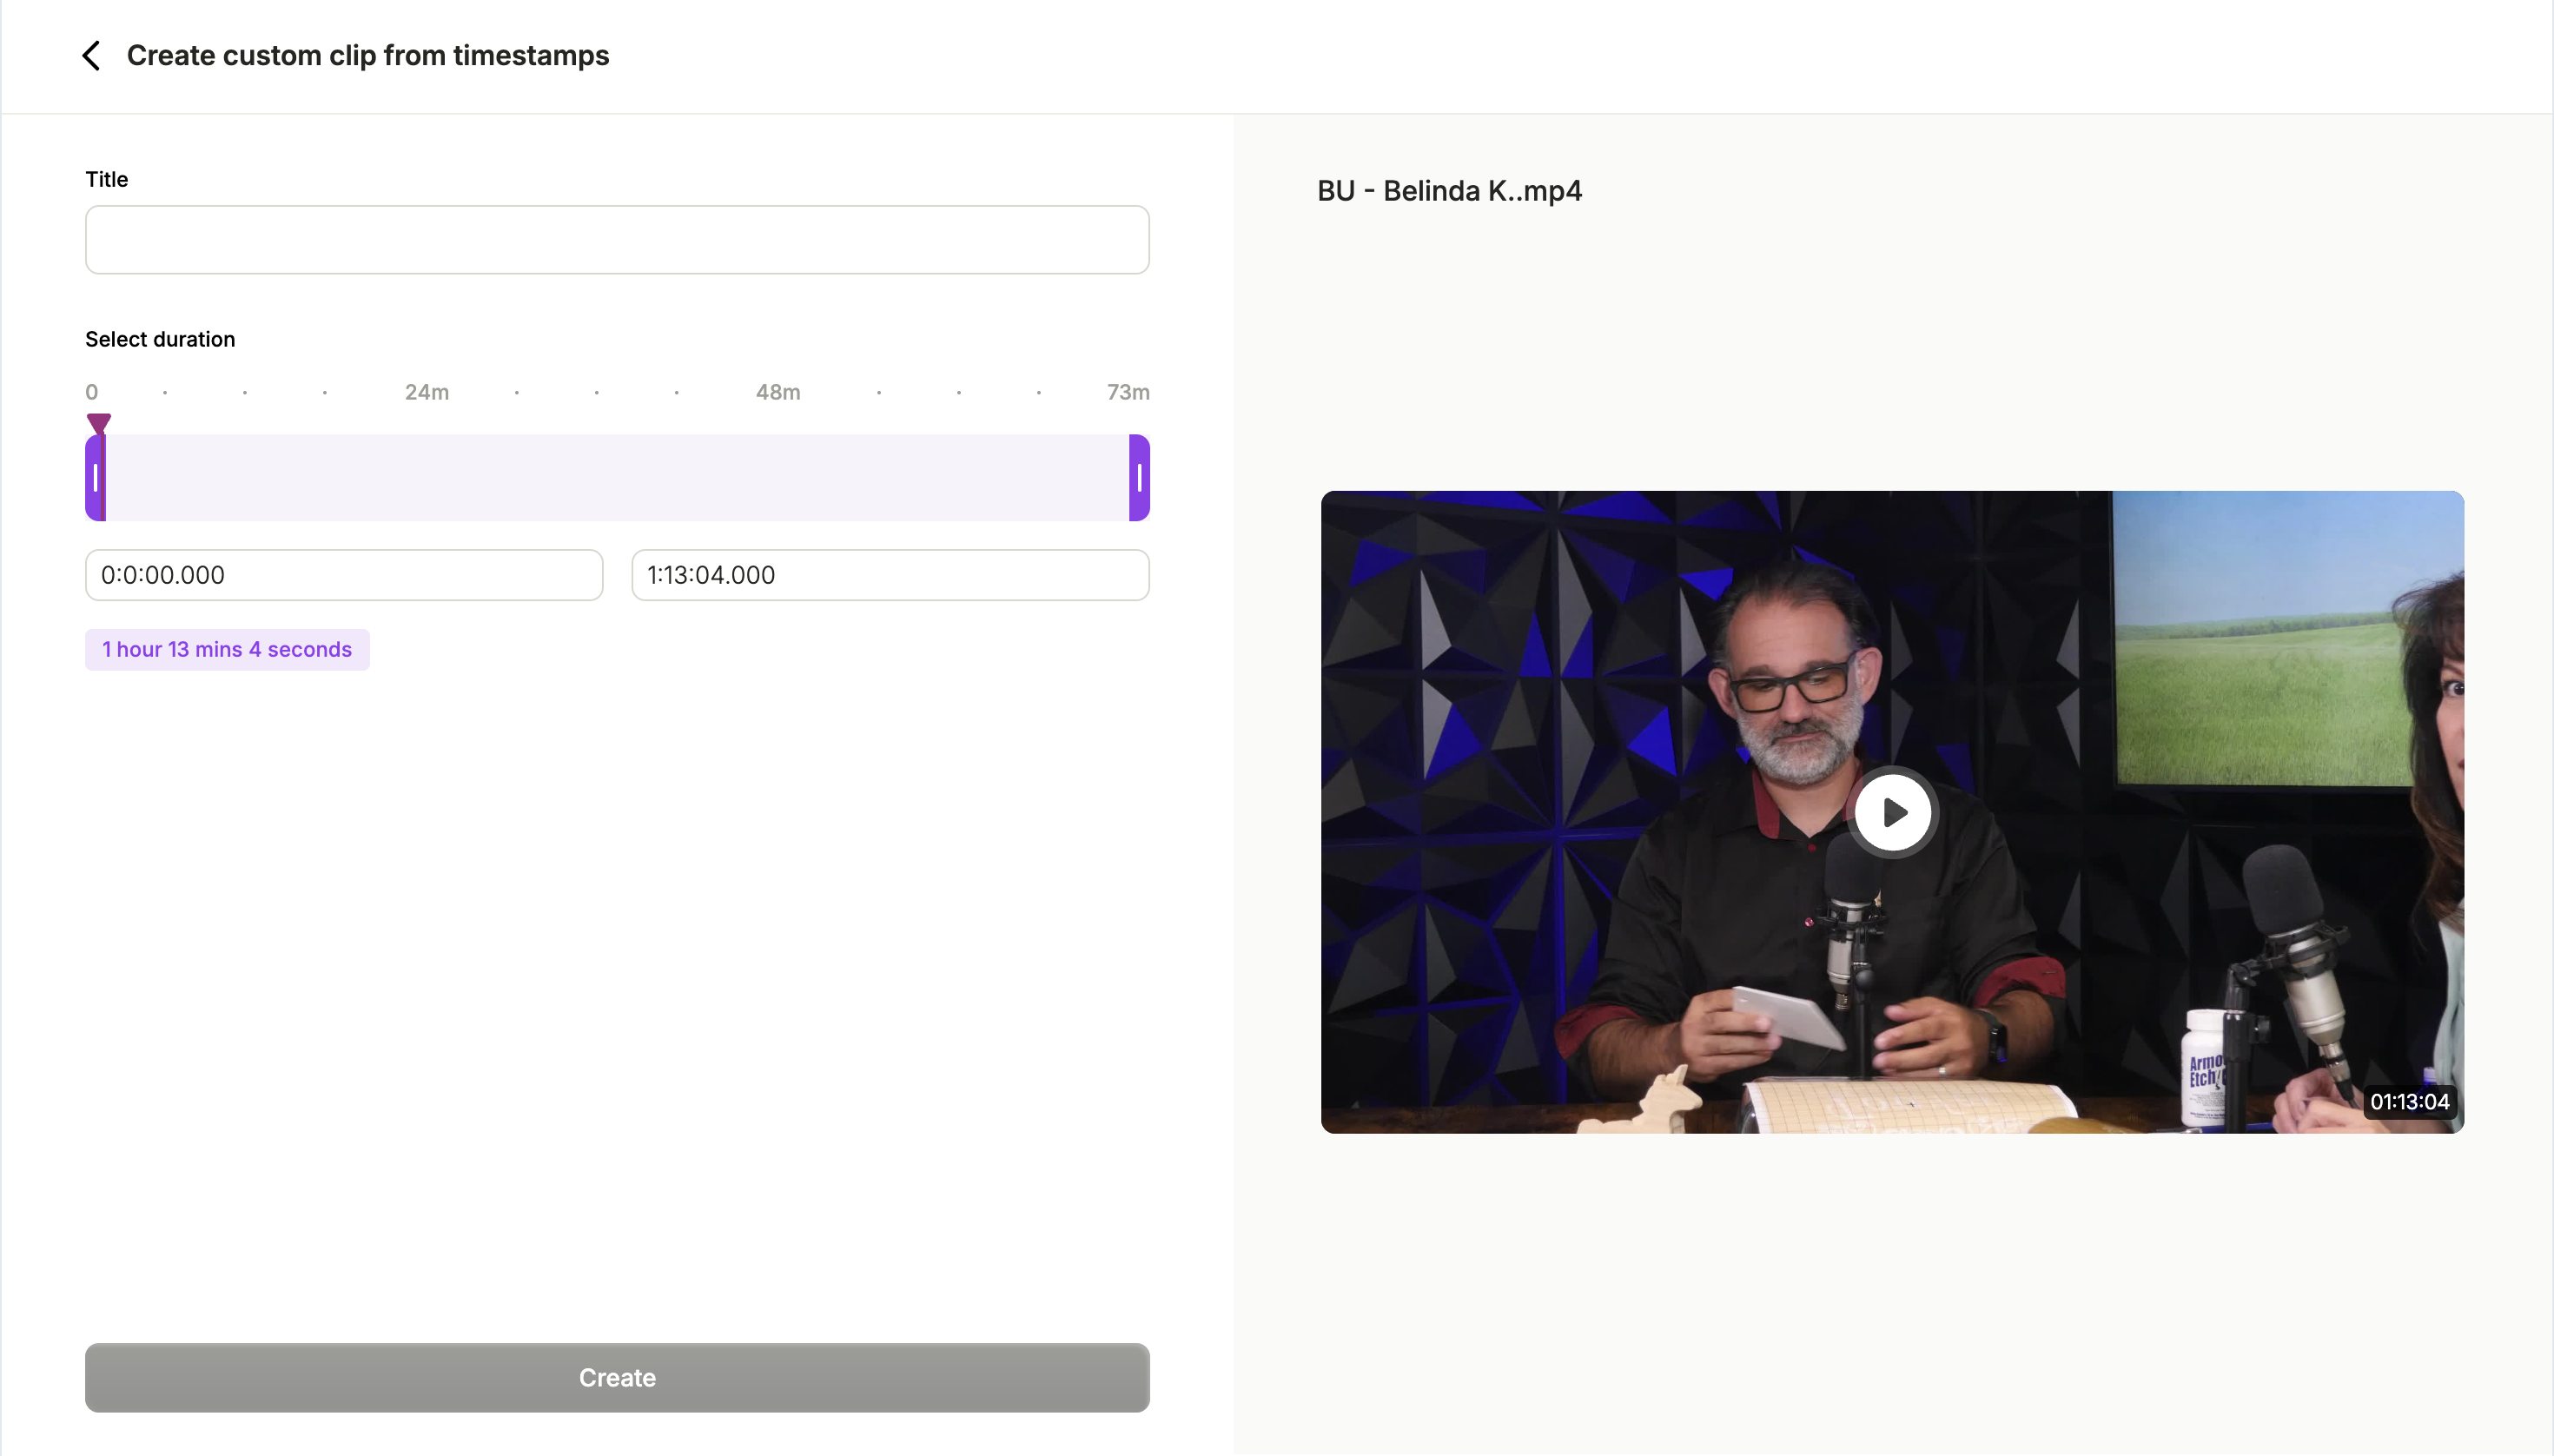
 You will now see options to select start & end time of the clip, along with an option to give it a name. Drag the corners to select the times and keep an eye on the length of the video.
Click on "Create" when you are happy with the clip.
You will now see options to select start & end time of the clip, along with an option to give it a name. Drag the corners to select the times and keep an eye on the length of the video.
Click on "Create" when you are happy with the clip.
 Your clip will be processed and is ready to be used now!
If your clips is longer than 1 minute in length, it will automatically show up in the 'Chapters' section instead of the 'Shorts' section of the clips screen.
Your clip will be processed and is ready to be used now!
If your clips is longer than 1 minute in length, it will automatically show up in the 'Chapters' section instead of the 'Shorts' section of the clips screen.