Just started posting on Instagram and already feeling like you’re glued to your phone?
We get it! You’re excited to grow your business, keep up with trends, create new content, and connect with your audience.
But the constant posting hustle? Not so much fun.
What if you could keep that excitement going—without the stress?
Imagine having all your posts lined up and ready to go, so you can focus on what really matters: building your brand, engaging with your followers, and letting your creativity shine.
In this article, we’ll show you how to schedule Instagram posts in 2025, making growth easy and effortless. Ready to dive in? Let’s get scheduling!
Can You Schedule Instagram Posts?
Absolutely, you can!
Scheduling Instagram posts in advance is not only possible but a game-changer for your business.
With options for scheduling feed posts, Stories, Reels, and even Threads, you’ve got tons of flexibility to keep your content flowing without staying glued to your phone.
So, why should you consider scheduling? Here are some key benefits:
- Save time: Dedicate blocks of time to creating and scheduling content in advance, freeing up your schedule for other important tasks.
- Ensure consistency: Maintain a regular posting cadence, which is crucial for keeping your audience engaged and growing your following.
- Optimize for peak engagement: Schedule your posts to go live during times when your audience is most active on the platform.
Here’s the catch: To start scheduling your posts, you need an Instagram Business or Creator account.
Personal accounts don’t have this option. Upgrading not only lets you schedule posts but also gives you access to handy tools like analytics.
So, if you’re still using a personal account, it’s time to make the switch and enjoy the benefits of easier and more efficient posting!
Methods to Schedule Instagram Posts
1. Using Instagram App (Native Scheduling)
Instagram's native scheduling tool offers a direct way to manage your posts right within the app, simplifying the content management process for business profiles.
It allows scheduling up to 25 posts daily, with the capability to plan content as far as 75 days ahead—ideal for long-term strategy. Here’s how to get started:
1. Open the App:
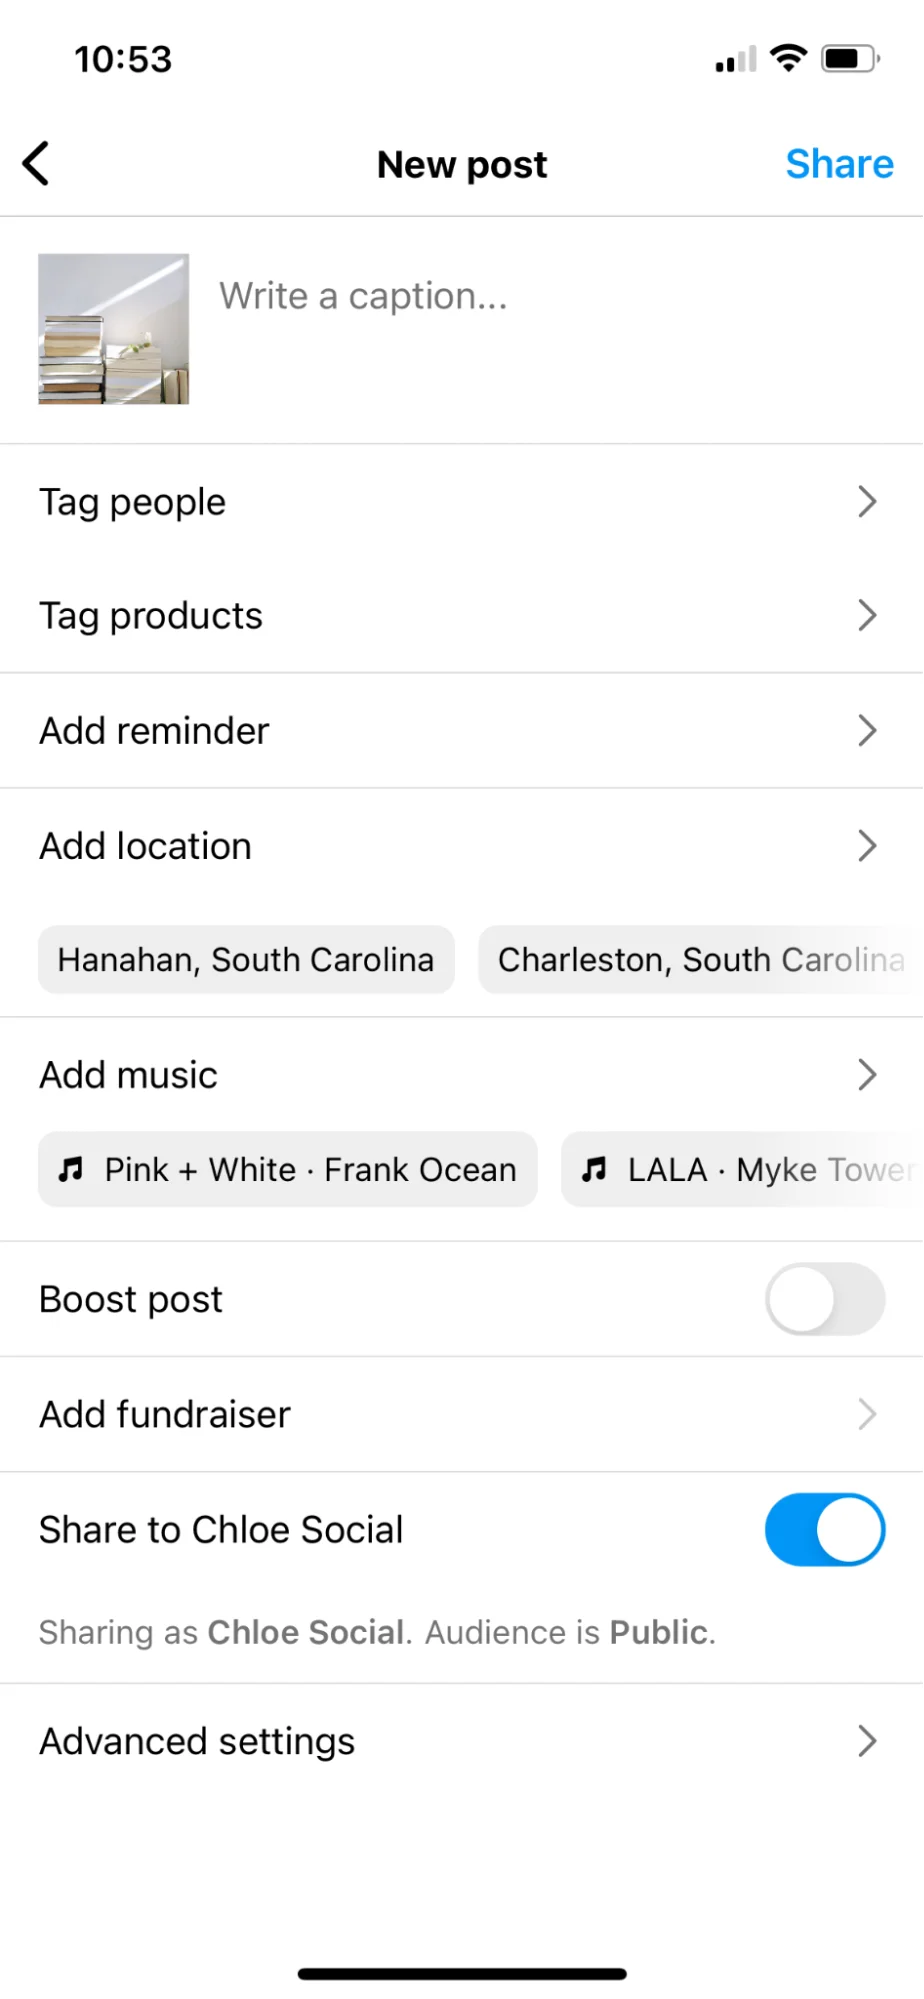
Launch your Instagram app and tap the + icon at the bottom of the screen, or swipe right on your home feed.
2. Select Content-Type:
Choose whether you want to create a Post or a Reel.
3. Create Your Content:
Take a photo or record a video using the in-app camera, or upload one from your camera roll.
4. Edit and Caption:
Add any stickers, effects, and your caption.
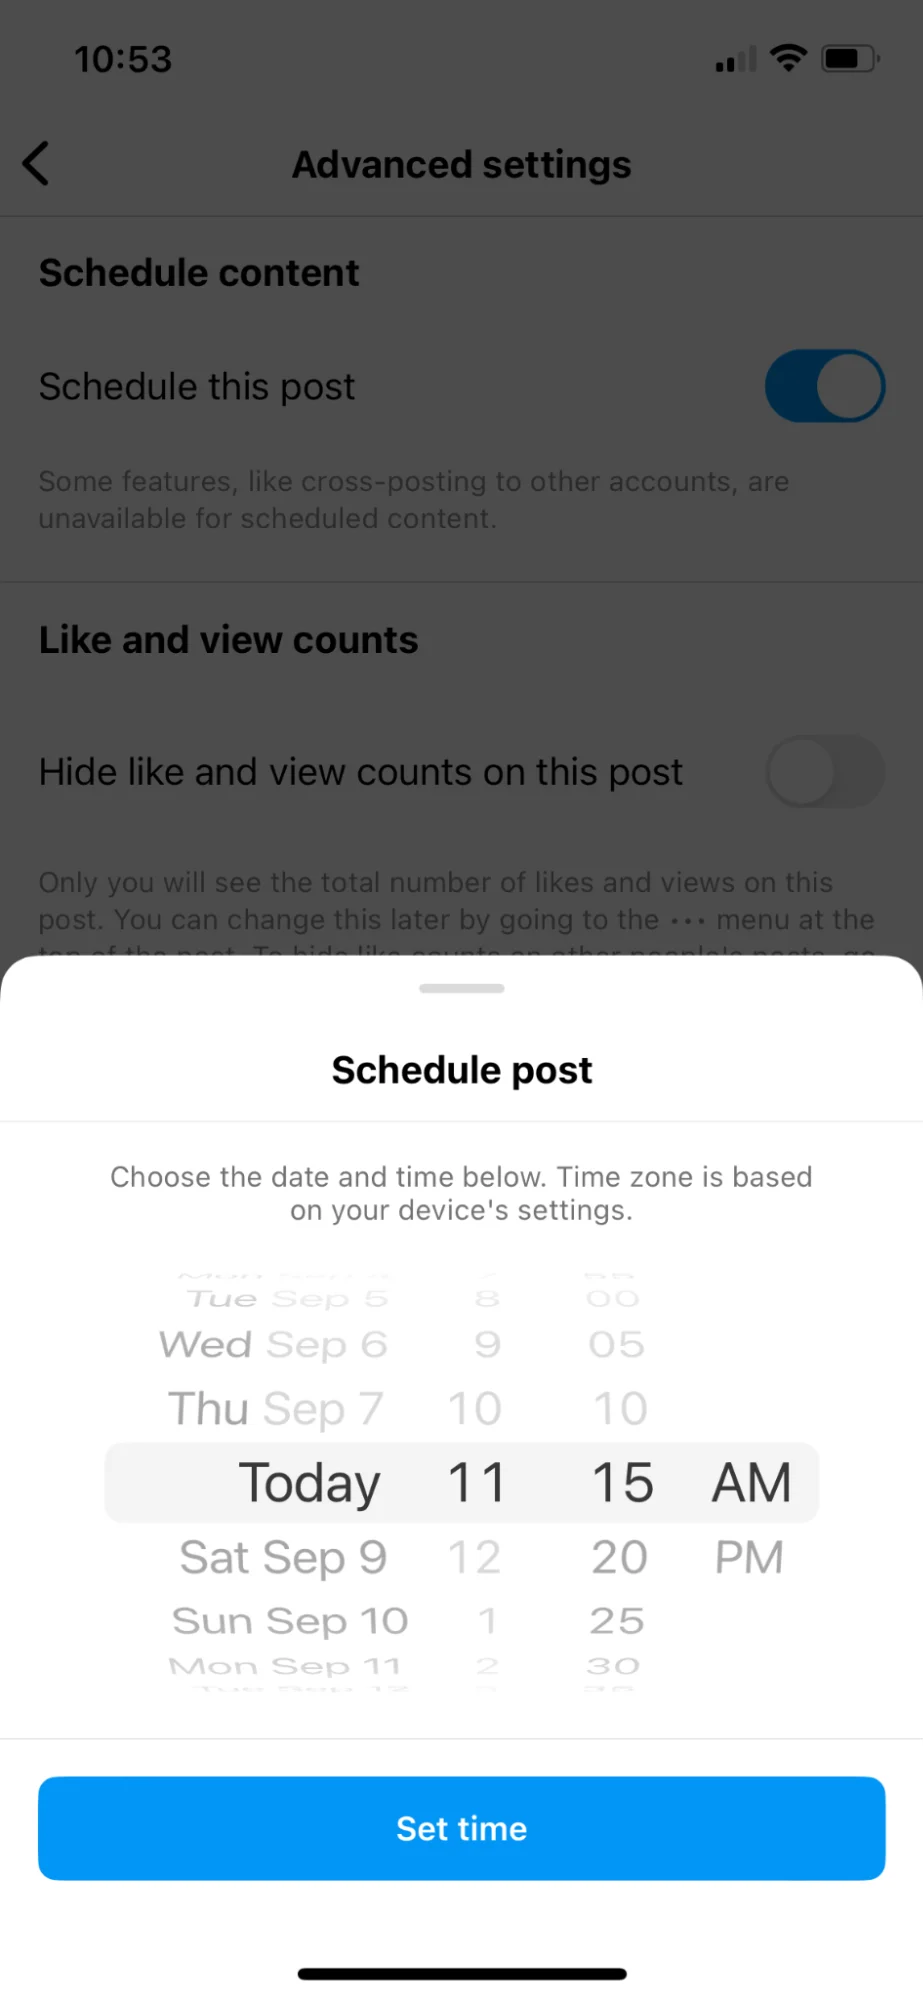
5. Go to Advanced Settings:
Tap on Advanced Settings at the bottom of the screen.
6. Schedule Your Post:
Turn on the Schedule this post option. Choose your preferred date and time from the menu that appears.
7. Finalize:
Tap back to the previous screen and then hit Schedule to confirm.
That’s it! Now you can sit back and see those like and follower notifications roll in while you focus on building your brand!
2. Meta Business Suite Method
Meta Business Suite is a great tool if you’re focused on scheduling content for Instagram and Facebook.
To get started, you'll need to link your Instagram Business Account to a Facebook Page, allowing you to synchronize your content management seamlessly.
Then follow these steps:
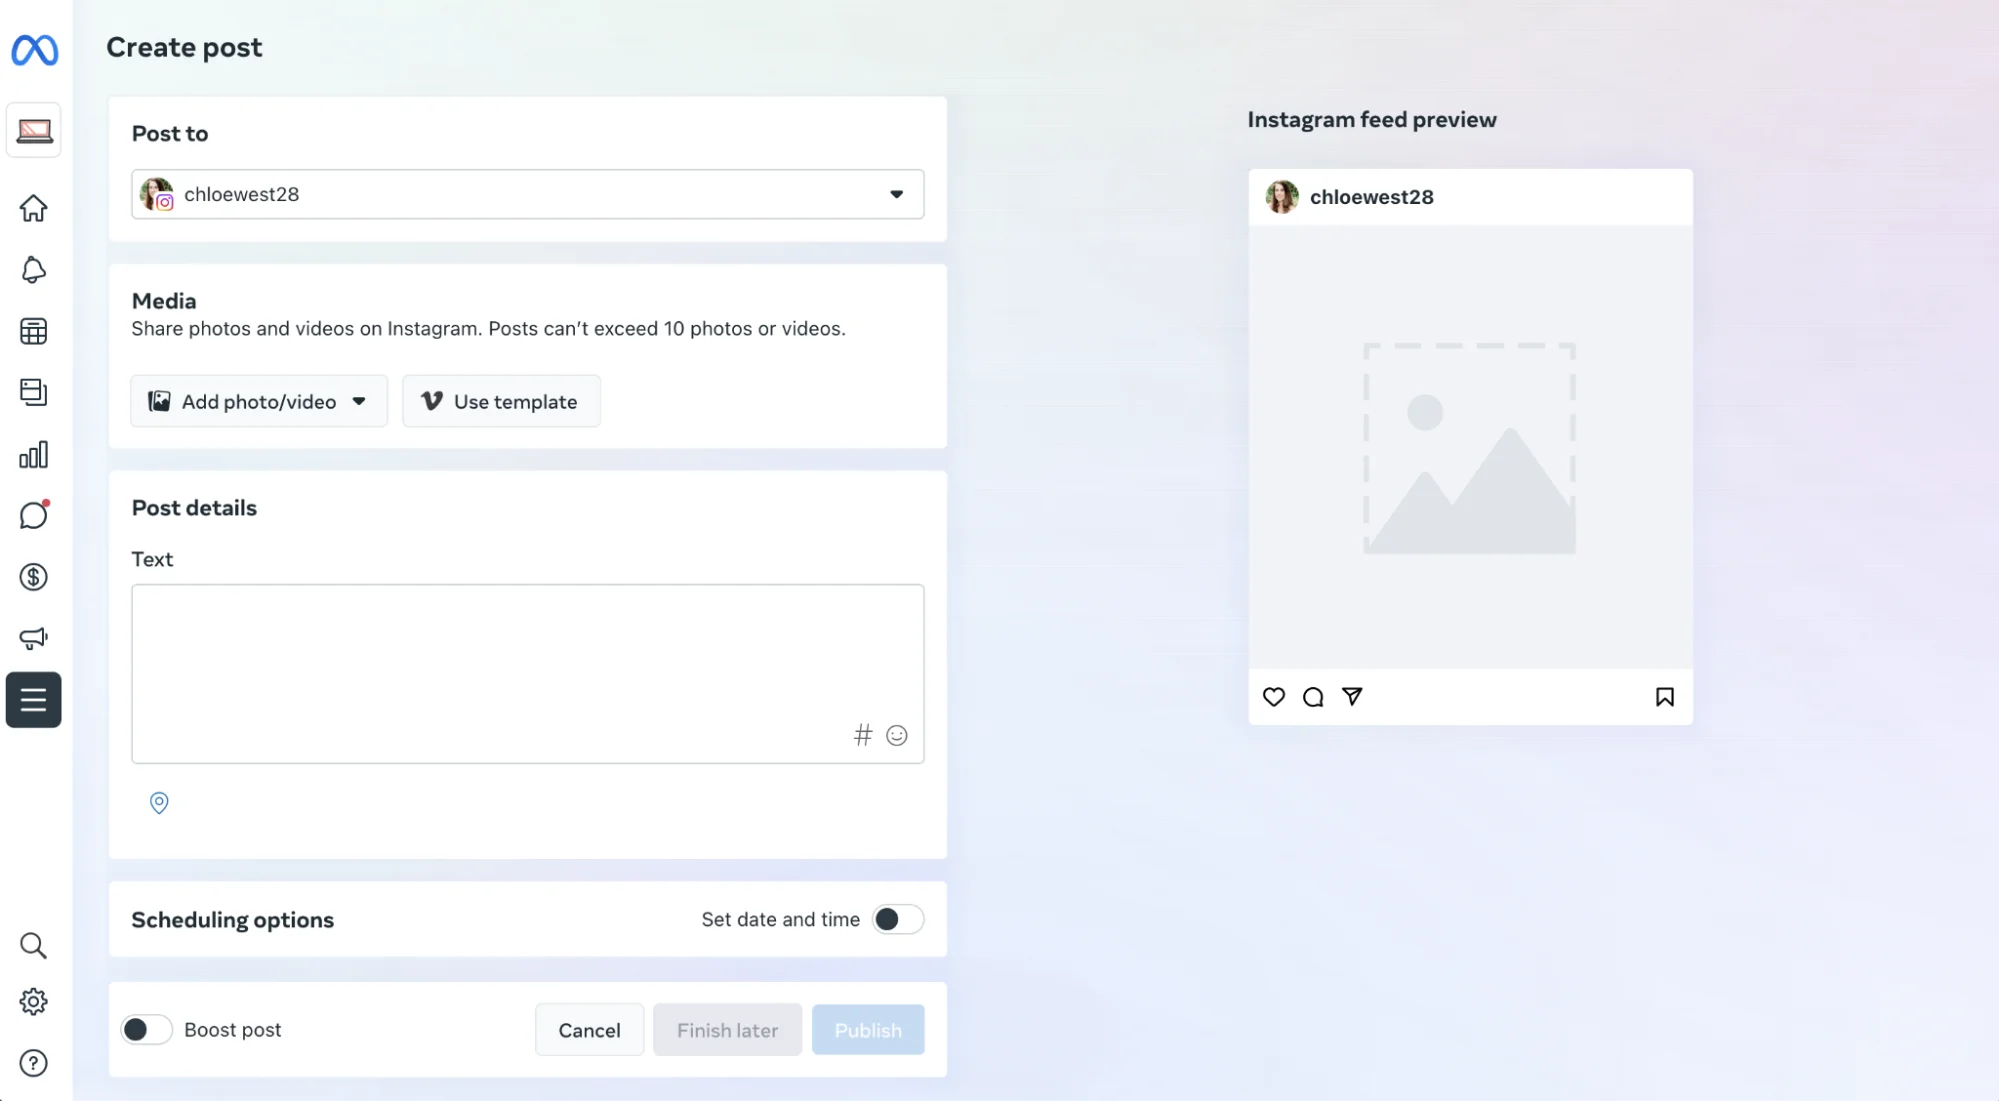
1. Start by creating your content:
Open Meta Business Suite and create your post or reel.
2. Select your Instagram account:
Choose the specific Instagram account you want to post on.
3. Add your media:
Upload the images or videos you wish to include in your post.
4. Write a descriptive caption:
Create a caption that complements your media and engages your audience.
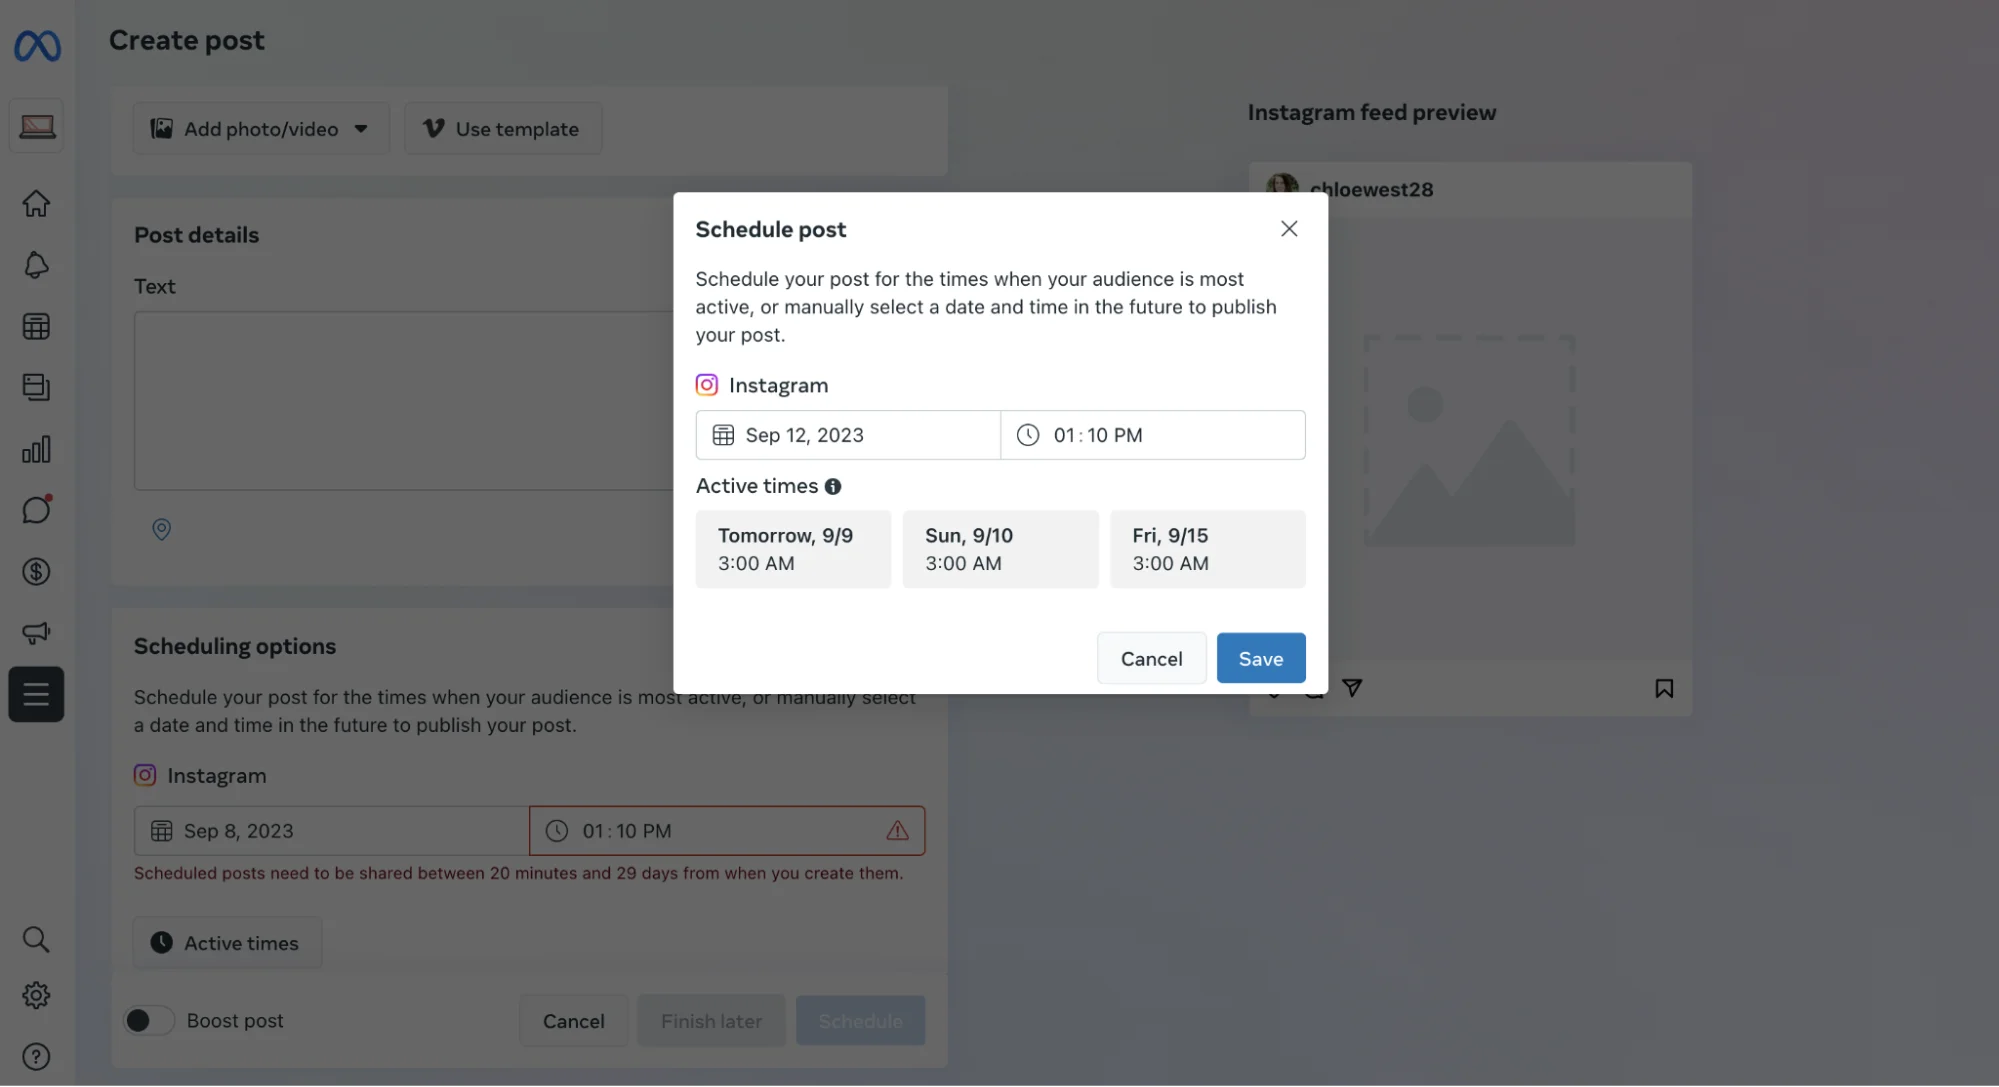
5. Schedule your post:
Use the scheduling feature to select the exact date and time you want your content to go live.
6. Utilize the "Active times" feature:
Check the insights provided by the "Active Times" feature to understand your audience's engagement patterns.
7. Optimize your posting time:
Use this data to schedule your posts for maximum reach and interaction.
And that’s it! You’re all set to share your content at the right time!
3. Use vidyo.ai
Now that you know you can schedule Instagram posts natively from the app, what if you want to streamline your entire social media strategy across multiple platforms?
Instead of jumping between different apps, why not simplify the process with a tool like vidyo.ai Social Media Post Scheduler?
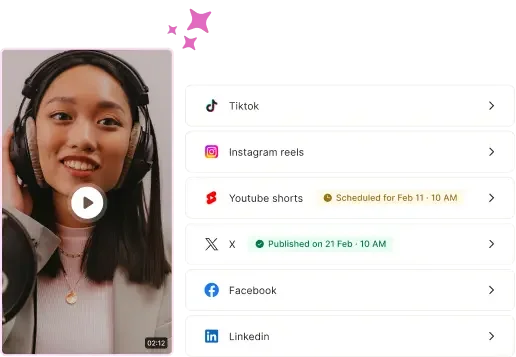
With vidyo.ai, you can easily manage content creation and scheduling for Instagram and other social media channels, including TikTok, Facebook, LinkedIn, YouTube, and Twitter.
Imagine being able to upload, edit, and schedule posts in a snap, leaving you with more time to focus on what truly matters—engaging with your audience!
Curious about how to get started? Here’s a straightforward guide to help you schedule your Instagram posts using vidyo.ai!
1. Connect Your Social Media Accounts:
Connect your social media accounts to vidyo.ai.
Our tool supports over six platforms, including Instagram, TikTok, Facebook, LinkedIn, YouTube, and Twitter.
This initial setup is essential for smooth scheduling and posting.
2. Upload Your Post:
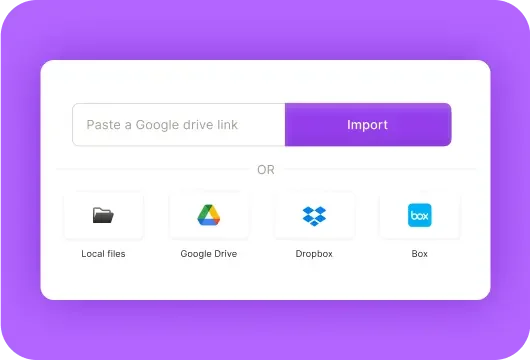
Prepare your content by uploading your posts to vidyo.ai.
If you have multiple posts, use the bulk upload feature to save time. This allows you to manage all your post details efficiently.
3. Schedule Your Social Media Posts:
Once your posts are ready, choose the dates and times you want your posts to go live.
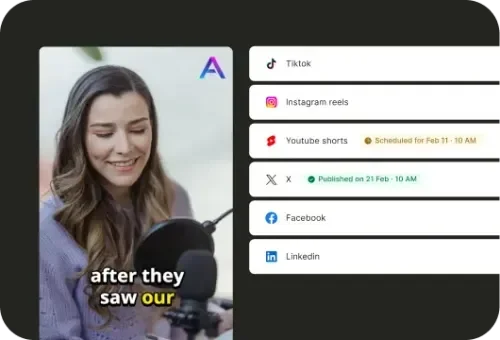
vidyo.ai provides a visual content calendar, allowing you to see all your scheduled posts at a glance.
Adjust the schedule as needed to optimize posting times for maximum engagement.
4. Review and Confirm Your Schedule:
After scheduling, take a moment to review your posts and ensure everything looks good.
Once you’re satisfied, confirm your schedule. Now you're set to share your engaging content across your social media platforms with ease!
And that's it! You’re all set to make waves with your scheduled posts and keep your audience engaged.
Tips on Scheduling Instagram Posts Efficiently
1. Optimal Posting Times
To ensure maximum reach and engagement, analyze when your followers are most likely to be online.
Use tools to identify these peak periods, allowing you to strategically schedule your content to align with your audience’s habits.
For more insights on optimal posting times, check out our blog: Best Time to Post on Instagram for Maximum Views & Likes.
2. Posting Frequency
Consistency is crucial for maintaining your audience's interest.
Strive for a regular posting schedule that balances frequency and quality, aiming for a manageable number like 3-7 posts per week.
3. Content Planning
Create a comprehensive content calendar that spans at least two weeks, featuring a diverse range of formats—such as visuals, interactive elements, and informative content.
Align your posts with upcoming events or relevant themes to resonate with your audience’s interests.
To get the most out of your strategy, grab your must-have Social Media Calendar Template and turn your content dreams into reality!
4. Caption Strategy
Create your captions ahead of time to ensure they are clear and impactful.
Start with attention-grabbing information to hook your audience, and include a compelling call-to-action to encourage engagement.
Organize and reuse effective hashtag groups to streamline your posting process and maximize your content’s reach.
Additionally, make use of an AI caption generator to help you brainstorm creative ideas and maintain consistency across your posts.
5. Analytics Review
Consistently evaluate your post performance to fine-tune your strategy.
Determine which posting times and content types drive the highest engagement, leveraging this data to improve your future scheduling and content plans.
Level Up Your Strategy by Scheduling Instagram Posts
Now that you know how to schedule Instagram posts both natively and with third-party tools, it's time to take action!
Start by planning your content ahead of time and scheduling it seamlessly.
Try using Instagram's native scheduling tools, and if you need more flexibility, explore third-party options like vidyo.ai for a comprehensive social media management experience.
Happy scheduling!


.svg)



.webp)
.webp)
